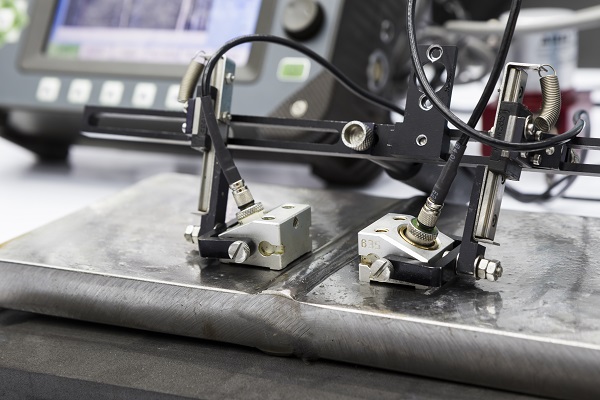
A surface plate is the standard reference for making sure that dimensional measurements are accurate and precise. But you have to make sure that your surface plate is precise; otherwise, everything will go wrong when your point of reference itself for all your measurements isn’t accurate. The most commonly used material for making surface plates is granite. But some are made of metal, cast iron, or glass.
Granite is thought to be the best material for making surface plates. The reason for this is its surface hardness. It also has low thermal expansion. It doesn’t rust or corrode. There’s very little warping, and it can last for a very long time without much wear and tear. These attributes help calibration at Eley Metrology and other shops achieve accuracy, stability, and precision in measurements.
Importance Of Surface Plate Calibration
Regular calibration of the surface plate you use is highly important. It’s one of the most reliable ways to make sure all the dimensional measurements that you do at work are accurate. No matter how advanced engineering and manufacturing become, precision will still be a crucial part of their design and processes.
You might think granite is the same as all other materials you can use for a surface plate but they’re not. Granite’s physical characteristics make it a special tool for ensuring precision of your measurements.
To be able to provide accurate dimensions that are reliable and consistent, you should maintain the flatness of surface plates. This way you can make sure you’ll be able to repeat your dimensions and measurements but still get the same results. The term flatness refers to the measurement of the surface plate from the bottom to top.
Repeatability means that you’ll be able to get the same uniform measurement wherever you move or slide your measurement tool on the surface plate. You should be able to get the same equal measurements all over the surface plate. If there are any discrepancies at all, they should be within the tolerable range.
Uses Of Surface Plate Precision In Manufacturing
A precise and accurate surface plate is critical in manufacturing. Most of the things that are done in manufacturing plants require high precision in dimensions and measurements. An imprecise dimension can put a lot of raw materials and even end products to waste. Flatness and repeatability are the two critical aspects to make sure that a surface plate would be giving a precise surface. A precise surface plate serves as the reference point for calibrating the other tools and equipment in the manufacturing plant.
The surface plate serves as the baseline for all the measurements you do in your manufacturing plant. This makes it a critical tool for quality control both before starting the production process and post-production. In manufacturing, the accuracy required for surfaces should be up to 0.00001 of an inch. This is considered 250 nm for grade AA or AAA plates.
Surface plates are also used to calibrate the accuracy of other smaller pieces of equipment and tools. Most of the machines, equipment, and measurement tools in machine shops are calibrated using surface plates. Manufacturers of cars and even airplanes, and their spare parts, rely on surface plates to inspect and calibrate their equipment and tools. These industries require tight tolerances and very high precision for their equipment.
This is crucial in manufacturing. For example, in cutting aluminium into sheets or rods, you set the dimension measurements of your machines and equipment against the surface plate. If your surface plate isn’t calibrated up to tolerable variances, your machines might cut the aluminium material into uneven sheets or bars. Often the result of imprecise surface plates is that your machines will churn out highly defective products with unacceptable imprecisions in measurements.
Importance Of Routine Surface Plate Calibration
It’s important to have routine plate calibration for your surface plate. This is the only way to make sure that its flatness and repeatability stay the same throughout the entire time that you use your surface plate. Calibration shops use various kinds of certification for flatness and repeatability. One is the Mahr Surface Plate Certification System. This system employs the following:
- Isometric or Numeric plotting technique
- Moody and Profile Analysis
- Automatic Grading. This is done according to the standards of your industry
- Multiple Run Average
As with most things, however, granite will still suffer wear and tear over time if you constantly use it. You might not notice these worn-out spots because you think your granite is tough and durable. They might not seem important to you. But these seemingly minute variations on the surface can cause variances in your dimension measurements.
Conclusion
It’s highly important to have your surface calibrated regularly. Some measurement experts
recommend that you should have it done every six months, especially if you’re in the
manufacturing sector. At the end of the day, if you’re producing something which requires
precision measurement, it’s highly advisable for you to regularly check the precision of your
surface plate. Otherwise, your final product might end up having imprecise dimensions and be unsafe for people to use.


